All about Scapretraction
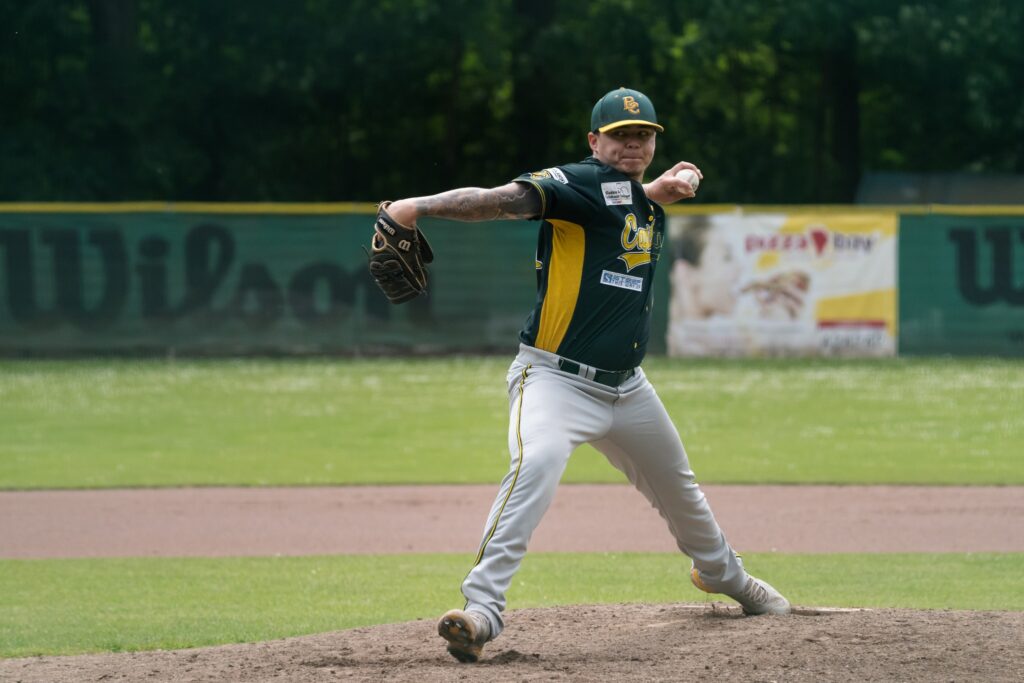
Foto: Thomas Schönenborn| Wie wirft man härter? Spoiler: Es sind sehr, sehr viele Dinge, die dazu beitragen, und in diesem […]
Foto: Thomas Schönenborn| Wie wirft man härter? Spoiler: Es sind sehr, sehr viele Dinge, die dazu beitragen, und in diesem […]
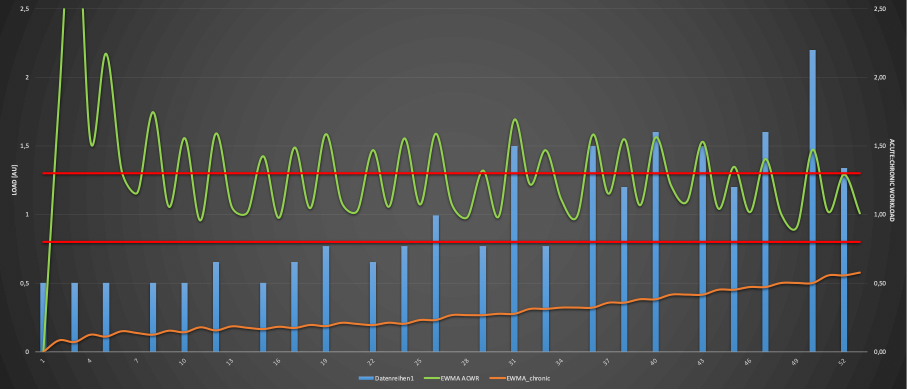
Die meisten Verletzungen des Arms passieren am Beginn der Saison (https://mikereinold.com/mlb-tommy-john-injuries/). Die Vermutung liegt sehr nahe, dass die Belastung in
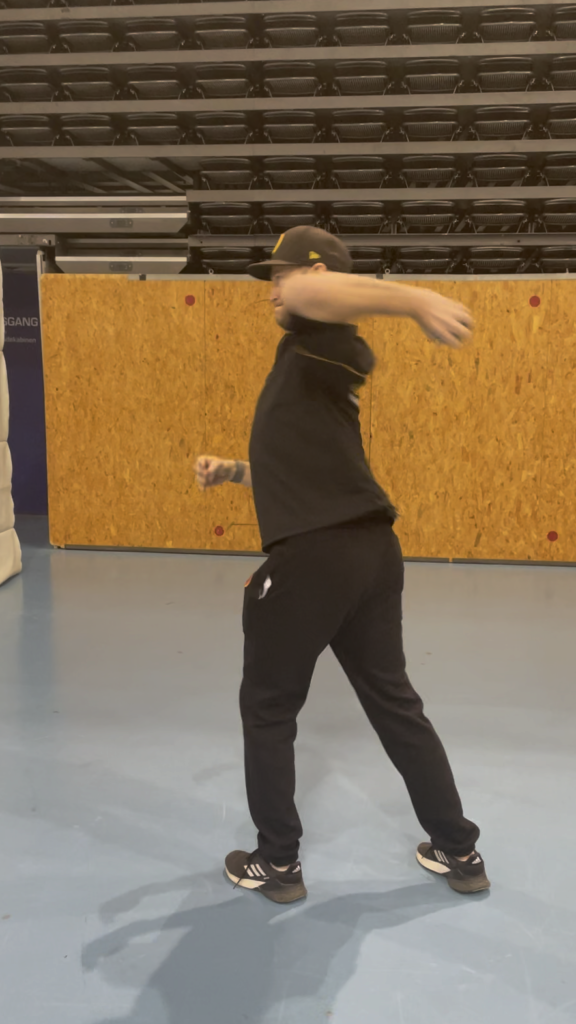
Pivot Pickoffs Die Pivot Pickoffs sind komplex, bringen aber auch enorm viel Mehrwert. Sie sind eine sehr gute Übung, um

For each day, you will receive your throwing program and strength/conditioning program, with all the details that leave (virtually) no questions unanswered, directly on your cell phone. The only question is - are you going to do it or not?
Die Step-Back-Throws der Plyo Ball Exercises sind eine Regression der Rocker throws und in der Abfolge der Drill-Serie in der
Die Plyo Ball Rollin-Throws sind eine Weiterführung der Pivot Pickoffs. Sie sind ebenfalls eine sehr Armaction orienterte Übung, die aber

Der Lead-Leg-Block Foto: Thomas Schönenborn | Im dritten Teil der Serie ging es um die Rotations-Phase, die für einen guten
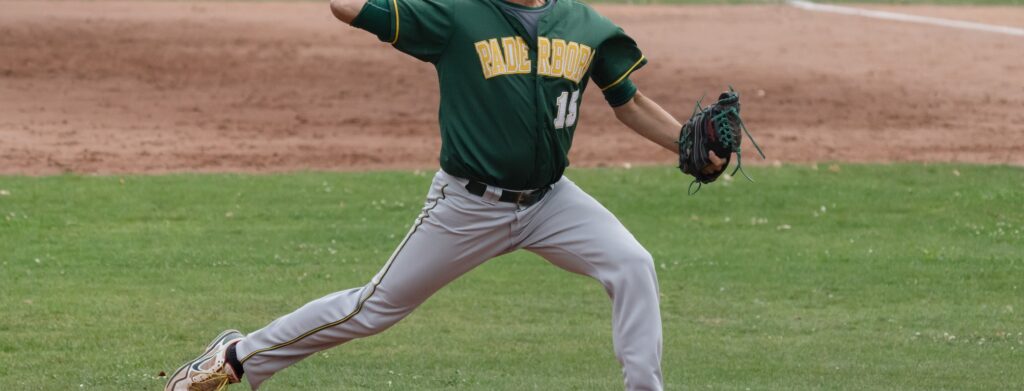
Foto: Thomas Schönenborn| Im zweiten Teil der Serie ging es um den Stride. Teil zwei beschäftigt sich mit der Hüft-Rotation.
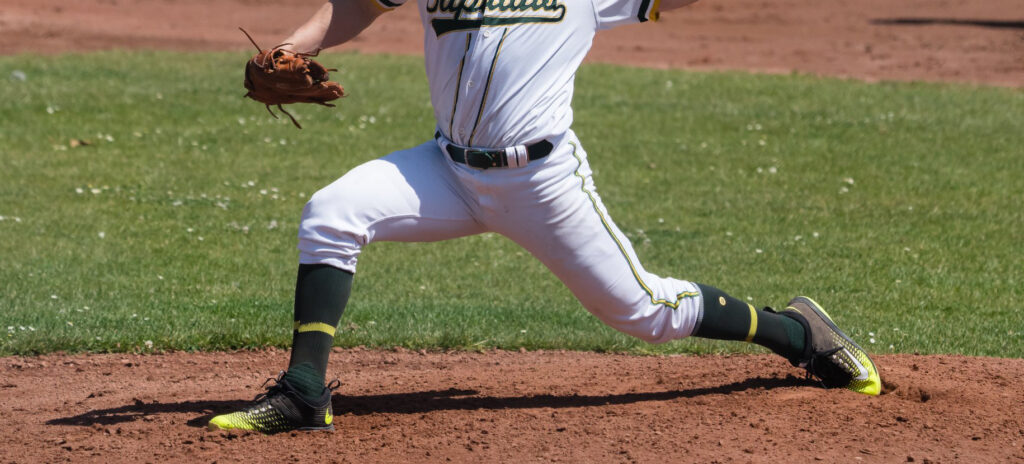
Foto: Thomas Schönenborn| Im ersten Teil der Serie ging es um den Leg-Lift und den Hip-Load. Teil zwei beschäftigt sich
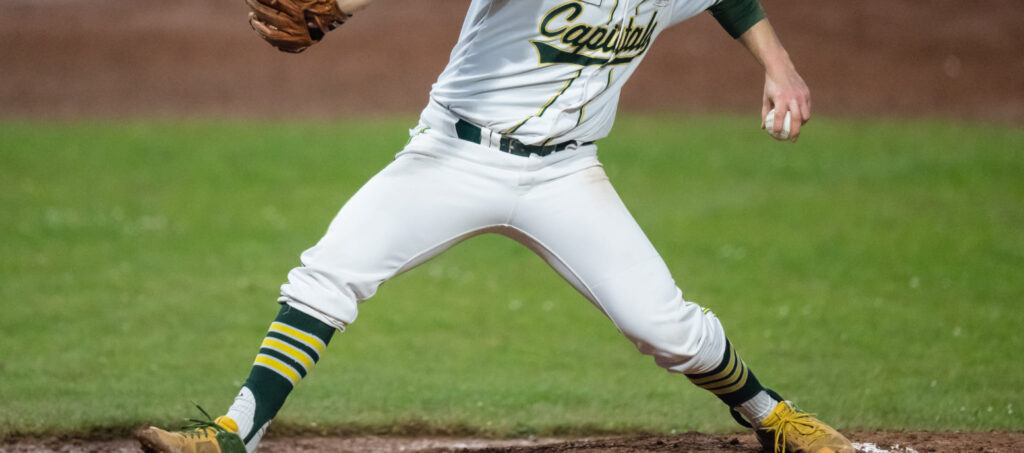
Foto: Thomas Schönenborn| Benutze deine Beine!“ – Welcher Pitcher hat das noch nie gehört, welcher Coach hat das noch nie
Do you want to hide this popup?