
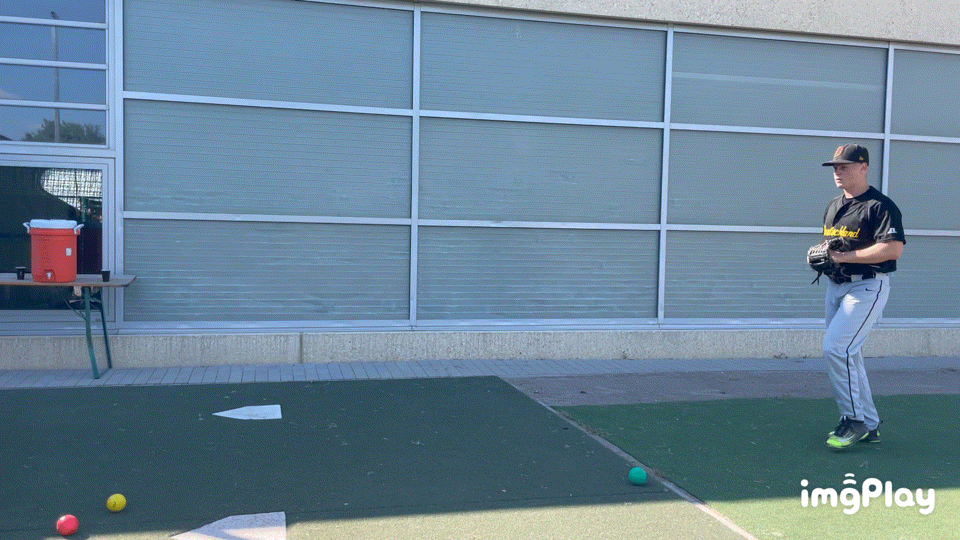
Plyo Ball Exercises: Step-Back-Throws
Die Step-Back-Throws der Plyo Ball Exercises sind eine Regression der Rocker throws und in der Abfolge der Drill-Serie in der […]
Die Step-Back-Throws der Plyo Ball Exercises sind eine Regression der Rocker throws und in der Abfolge der Drill-Serie in der […]
Die Plyo Ball Rollin-Throws sind eine Weiterführung der Pivot Pickoffs. Sie sind ebenfalls eine sehr Armaction orienterte Übung, die aber

Der Lead-Leg-Block Foto: Thomas Schönenborn | Im dritten Teil der Serie ging es um die Rotations-Phase, die für einen guten

Foto: Thomas Schönenborn| Im zweiten Teil der Serie ging es um den Stride. Teil zwei beschäftigt sich mit der Hüft-Rotation.
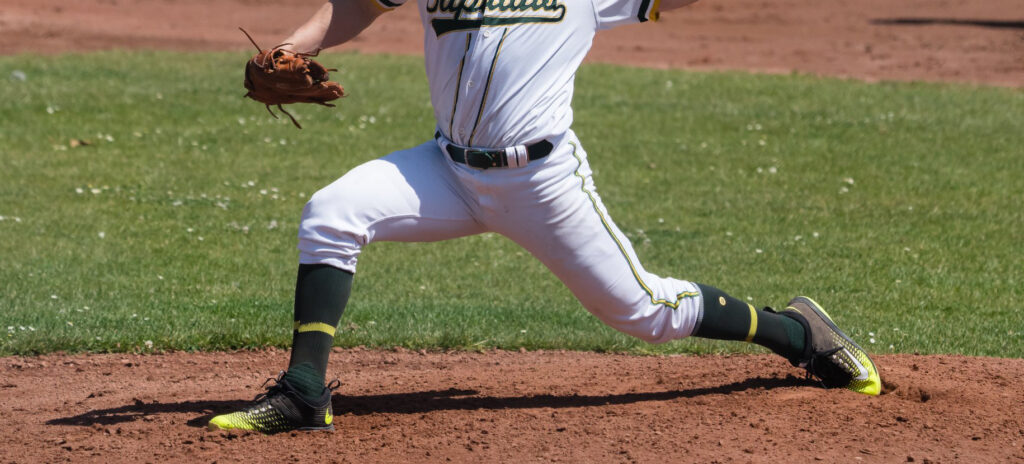
Foto: Thomas Schönenborn| Im ersten Teil der Serie ging es um den Leg-Lift und den Hip-Load. Teil zwei beschäftigt sich

Foto: Thomas Schönenborn| Benutze deine Beine!“ – Welcher Pitcher hat das noch nie gehört, welcher Coach hat das noch nie
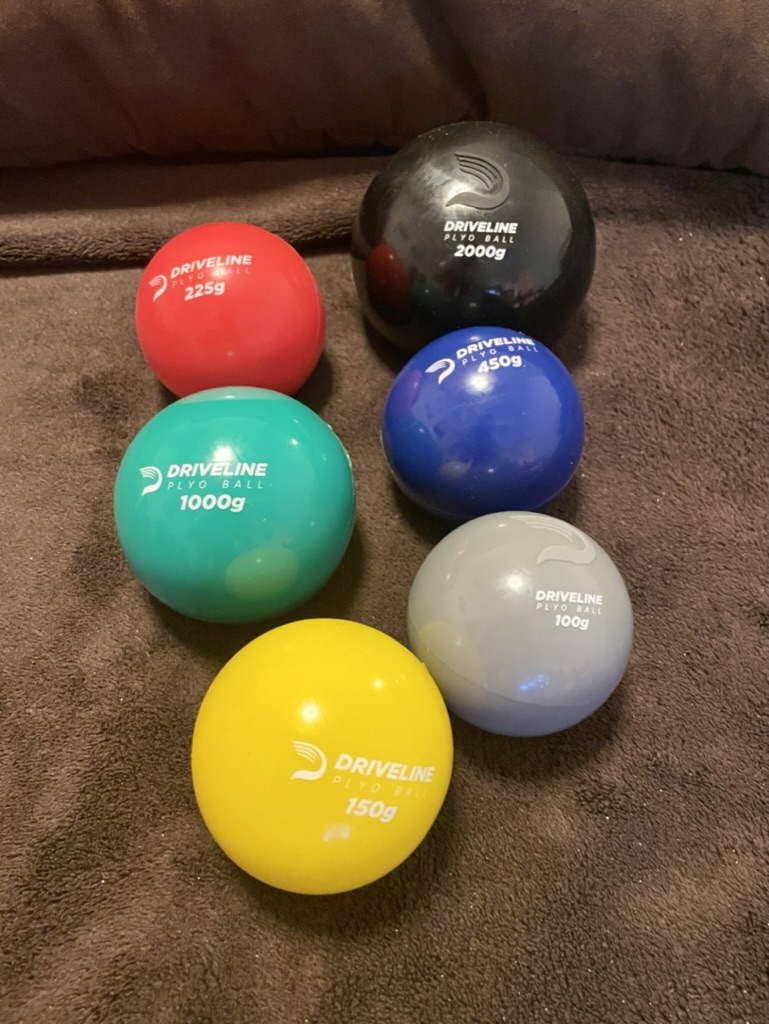
Was sind Plyo Balls und was können sie? Überall auf Baseballfeldern und Turnieren sieht man sie: Bunte, weiche Bälle, die
Du findest das Konzept des Trainings mit Plyocare Balls interessant und hast dir vielleicht sogar schon ein Driveline Plyocare Ball
Do you want to hide this popup?